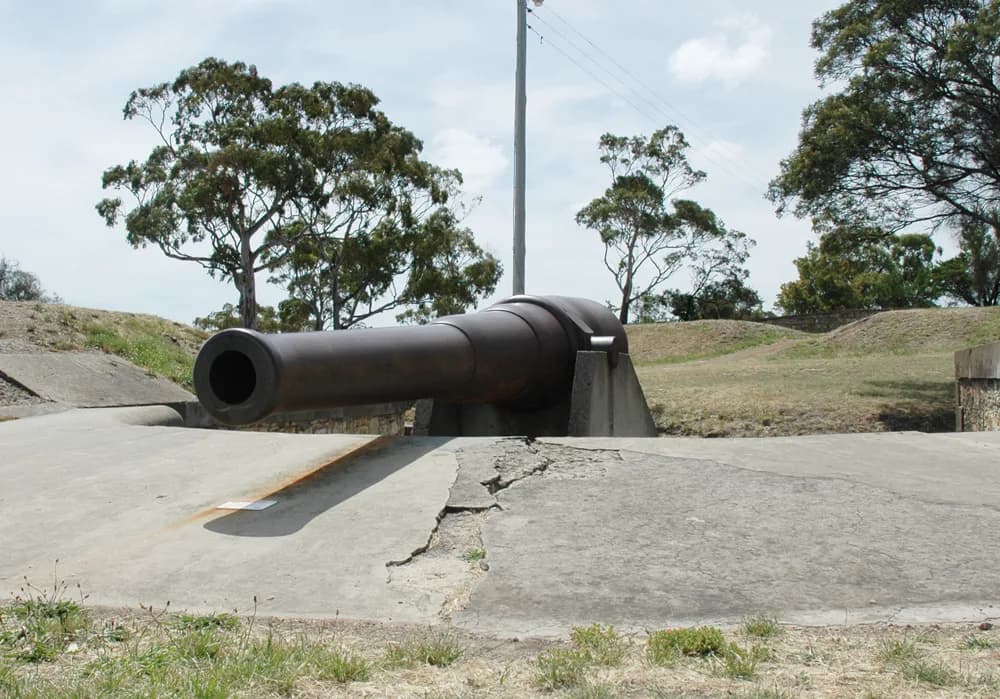

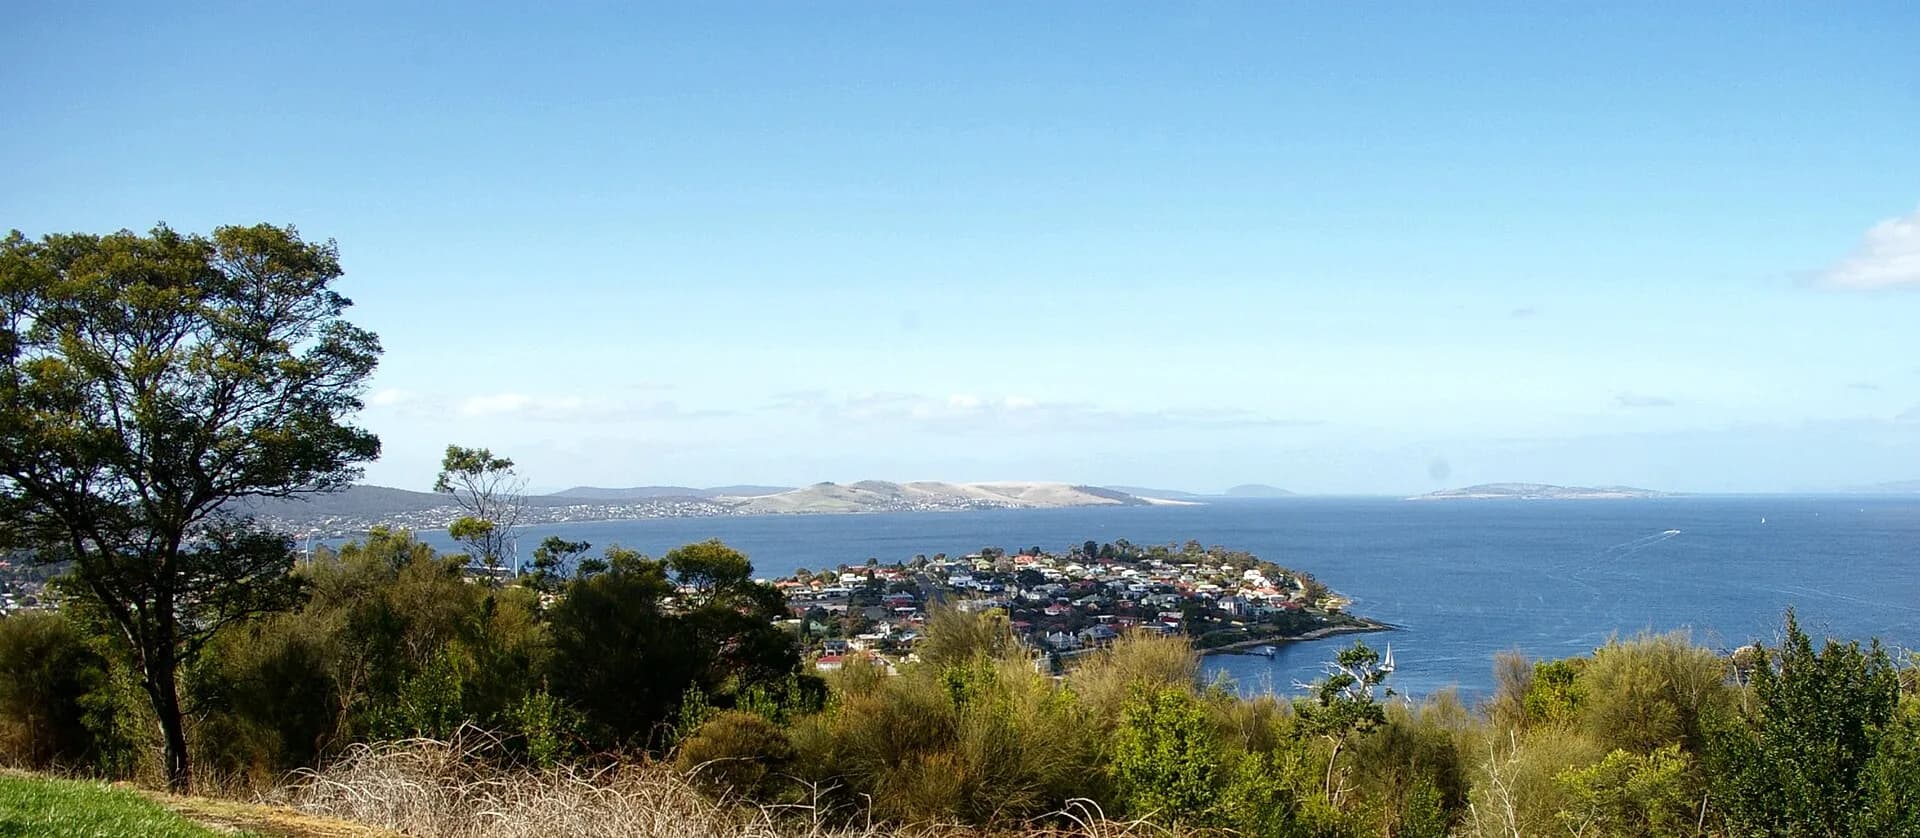
Kangaroo Bluff Battery occupies a commanding position above the River Derwent at Bellerive. Built from local sandstone in the early 1880s, it formed part of a linked system intended to defend Hobart from attack by sea.
Why the battery was built
The withdrawal of imperial troops left the colonies responsible for more of their own defence. Engineers designed Kangaroo Bluff to support other Derwent batteries, with heavy guns, earthworks, stores and protected communication spaces.
Read the surviving structure
Passageways, magazines, gun positions, walls and the surrounding moat show how the fort was designed to operate. It was manned into the early twentieth century but never fired in anger.
_Rosny_2012.jpg)
Visiting safely
Parks Tasmania lists free entry and daily opening from 9 am to 5 pm. The site has stairs, uneven and sometimes slippery surfaces, a deep moat and high drop-offs. Visit only in daylight, stay at least two metres from edges and supervise children closely.

Combine the battery with the Bellerive guide. The Defending Hobart article places it within the wider Derwent network, including Alexandra and former city batteries.